
BitShares-UI
This is the reference wallet of BitShares Blockchain which connects to BitShares Blockchain nodes (bitshares-core).
This reference wallet is a browser based wallet, which means your keys are stored locally in your browser and never leaves it while using the wallet. You should never expose your keys to anyone as transactions are signed locally before transmitting them to a node.
Getting started
Building BitShares-UI browser based reference wallet depends on node version 16 using a non-root user.
On Ubuntu or macOS, the easiest way to install node is to use Node Version Manager.
Install nvm according to your platforms recommendation and set the version
nvm install v16
nvm use v16
Once you have node installed, clone the repository using the following commands:
git clone https://github.com/bitshares/bitshares-ui.git
cd bitshares-ui
Before launching the UI you will need to install the packages using yarn on a non-root user:
yarn install
Running the dev server
Once all the packages have been installed you can start the development server by running:
yarn start
Once the compilation is done the UI will be available in your browser at: localhost:8080 or 127.0.0.1:8080. Hot Reloading is enabled so the browser will live update as you edit the source files.
Testnet
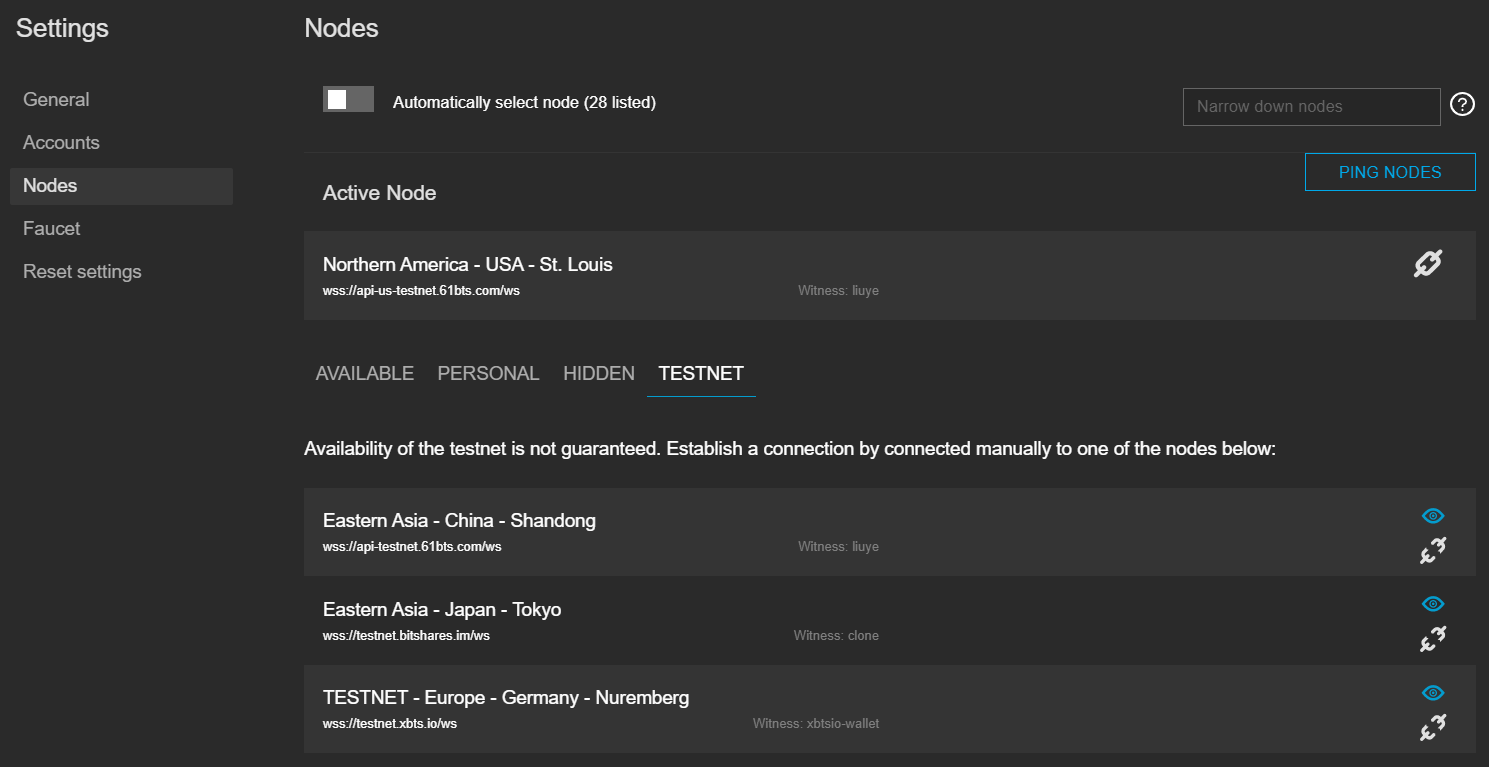
By default bitshares-ui connects to the BitShares mainnet, but it’s very easy to switch it to the testnet. To do so, open the UI in a browser, go to Settings, then under Nodes, select the Testnet in the dropdown menu. The UI will reload and connect to the testnet.
There is also a ready-made deployment directly connected to testnet including account creation available here.
Production
If you’d like to host your own UI somewhere, you should create a production build and host it using NGINX or Apache. In order to create a prod bundle, simply run the following command:
yarn run build
This will create a bundle in the ./build/dist folder that can be hosted with the web server of your choice.
Installable (local wallet)
We use Electron to provide installable wallets, available for Windows, macOS and Linux Debian platforms such as Ubuntu. There is a GitHub Action available that shows all the steps necessary for this build.
This will compile the UI with some special modifications for use with Electron, generate installable binaries with Electron and copy the result to the root build/binaries folder.
Docker
Clone this repository, run docker-compose up and visit localhost:8080